- Version 10.0.1
- Project Flyweb Production
- Section blog
- Tags
newsletter, css, javascript, grunt
Published This Post is a few years old and the Information provided might be out of date!
HTML Email Templates with Zurbs Inky & Grunt
How to easily create responsive HTML email Templates with the Taskrunner grunt

The creation of HTML Emails is still like a journey back to the good ol' nineties when it comes to Layout Programming. When you take a look at the CSS Guide from Campaign Monitor you get a pretty good glimpse at what might or probably might not be supported by the various Email Clients.
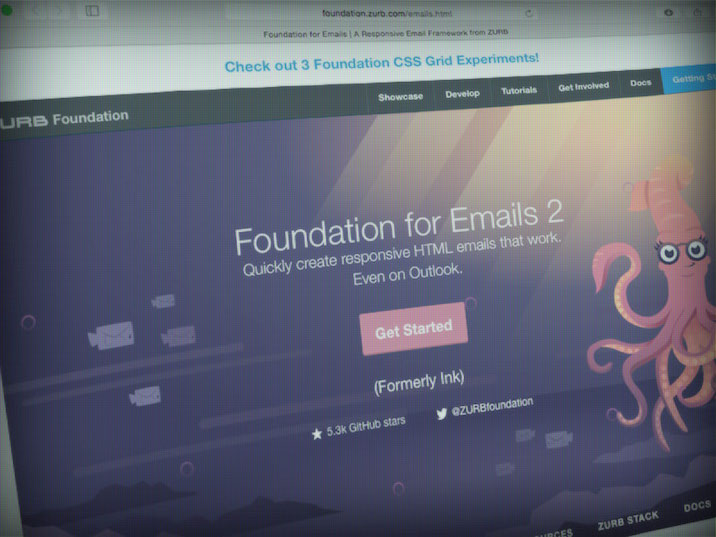
One of the best options to keep a sane mind while creating HTML Email Templates is to use one of the available frameworks. Since I use Zurbs Foundation Framework a lot I will describe a setup example with Inky from Zurbs Foundation for Emails and grunt to create templates which will be responsive and should allow a good readability on mobile devices.
From gulp to grunt
The integration of Inky with gulp or as a standalone is already documented at the Inky github page. For an existing project I needed a solution with the grunt taskrunner.
Requirements for the Project
- Use a single Template file to generate custom templates
- Create custom templates with a grunt command
grunt watch:email --template='new_email_template' - Watch for file changes and re/compile the new template automatically
- Parse single templates with
inky - Move extern CSS to
<body>element - Remove unused CSS
- Minify all CSS and HTML Code
- Inline possible CSS code
- Replace placeholders with Backend Templates Tags
Packages
The following node packages are used to get things running:
- matchdep - https://www.npmjs.com/package/matchdep
- siphon-media-query - https://www.npmjs.com/package/siphon-media-query
- foundation-emails - https://github.com/foundation/foundation-emails
- grunt-inky - https://www.npmjs.com/package/grunt-inky
- grunt-inline-css - https://www.npmjs.com/package/grunt-inline-css
- grunt-string-replace - https://www.npmjs.com/package/grunt-string-replace
- grunt-usemin - https://www.npmjs.com/package/grunt-usemin-slashes
Creating HTML Email Templates the easy Way
Assuming you got a project folder, node, grunt and all the required, above mentioned packages are installed, the next step would be to create two files and a sub-folder:
$ mkdir templates && touch Gruntfile.js master_template.html/Projectfolder
/templates
Gruntfile.js
master_template.htmlGrunt Configuration
The starting point for developing every new HTML Email-Template will be the file master_template.html. This file will be watched for changes by grunt and every time the file is saved, the following will happen:
- The Template file will be created (in the folder /templates) with the filename provided with the grunt command option
--template - The Zurb Inky Custom Tags get converted to HTML
- Extern CSS files will be inlined to the HTML header
- Every possible CSS attribute will be inlined
- Custom Placeholders like
<!-- <tracker> -->get replaced with the Backend Templates Tags - The Browser reloads and the new Template is shown (point the Browser to the template in the /templates folder)
module.exports = function (grunt) {

    require('matchdep').filterDev('grunt-*').forEach(grunt.loadNpmTasks);
    var siphon = require('siphon-media-query');
    var fs = require('fs');

    var nl_css = fs.readFileSync('PATH/TO/foundation-emails.css').toString();
    var mq_css = siphon(nl_css);

    // Filename for created template
    var template = grunt.option('template') || 'default_template_name';

    grunt.initConfig({

        pkg: grunt.file.readJSON('package.json'),

        watch: {

            email: {
                files: ['master_template.html'],
                tasks: ['email'],
                options: {
                    spawn: true,
                    livereload: true
                }
            }

        },
        inky: {
            base: {
                options: {
                    cheerio: {
                        decodeEntities: false
                    }
                },
                files: [{
                    cwd: '/',
                    src: 'master_template.html',
                    dest: 'templates/',
                    filter: 'isFile',
                    expand: true,
                    rename: function () {

                        return 'templates/' + template + '.html';

                    }
                }]
            }
        },
        inlinecss: {
            main: {
                options: {
                    // applyStyleTags: false,
                    // removeLinkTags: false
                    removeStyleTags: true,
                    preserveMediaQueries: false,
                    webResources: {
                        images: false
                    }
                },
                files: [{
                    expand: true,
                    src: 'templates/' + template + '.html'
                }]
            }
        },
        htmlmin: {
            main: {
                files: [{
                    expand: true,
                    src: 'templates/' + template + '.html'
                }],
                options: {
                    collapseWhitespace: true,
                    minifyCSS: true,
                }
            }
        },
        'string-replace': {
            main: {
                files: [{
                    expand: true,
                    src: 'templates/' + template + '.html'
                }],
                options: {
                    replacements: [{
                        pattern: '<!-- <style> -->',
                        replacement: '<style>' + mq_css + '</style>'
                    },
                    {
                        pattern: '<!-- <tracker> -->',
                        replacement: '{this_is_my_smarty_tag}'
                    }]
                }
            }
        }

    });

    grunt.registerTask('default', []);
    grunt.registerTask('email', ['inky', 'inlinecss', 'string-replace', 'htmlmin']);

};
This configuration enables to use the following grunt command:
$ grunt watch:email --template='my_new_template'Layout
Furthermore, instead of creating hundreds of HTML tables for an HTML Email Template, the custom HTML Tags which Zurbs Inky provides will be used to create the Layout:
<table class="row">
<tbody>
<tr>
<th class="small-6 large-6 columns first">
<table>
<tr>
<th>
<p>Not in a callout :(</p>
</th>
</tr>
</table>
</th>
<th class="small-6 large-6 columns last">
<table>
<tr>
<th>
<table class="callout">
<tr>
<th class="callout-inner secondary">
<p>I'm in a callout!</p>
</th>
<th class="expander"></th>
</tr>
</table>
</th>
</tr>
</table>
</th>
</tr>
</tbody>
</table>
<!-- Instead of the tables inky tags can be used -->
<row>
<columns small="6">
<p>Not in a callout :(</p>
</columns>
<columns small="6">
<callout class="secondary">
<p>I'm in a callout!</p>
</callout>
</columns>
</row>The Inky documentation provides good examples which Layout elements are supported - https://get.foundation/emails/docs/
Creating the Master HTML EMail Template
With a setup like this I have a default Master Template to start creating new Email Templates. I don't need to worry about any nested HTML tables which makes life a lot easier when building HTML Newsletters.
Master Template Example
<!DOCTYPE html PUBLIC "-//W3C//DTD XHTML 1.0 Strict//EN" "http://www.w3.org/TR/xhtml1/DTD/xhtml1-strict.dtd">
<html xmlns="http://www.w3.org/1999/xhtml">
<head>
    <meta http-equiv="Content-Type" content="text/html; charset=utf-8" />
    <meta name="viewport" content="width=device-width" />
    <title>{subject}</title>
    <meta property="og:title" content="{subject}" />
    <link rel="stylesheet" href="PATH_TO_LOCAL/foundation-emails.css" />
</head>
<style>

body {
    background-color: #fff;
}

a {
    color: #3e86ab;
}

h1 {
    font-weight: bold;
    color: #3e86ab;
}

</style>
<body>
<!-- <style> -->
<table class="body" data-made-with-foundation>
    <tr>
    <td class="float-center" align="center" valign="top">
    <center>

        <container>
            <row>

                <columns>

                    <h3>Lorem ipsum dolor sit amet.</h3>
                    <h1>Lorem ipsum dolor sit amet, consectetur adipisicing elit. Suscipit, dignissimos.</h1>

                    <row>

                        <columns large="4">

                            <p>Lorem ipsum dolor sit amet, consectetur adipisicing elit. Perspiciatis unde quo, repellendus odit nobis minus optio voluptatibus numquam animi distinctio.</p>

                        </columns>
                        <columns large="8">

                            <p>Lorem ipsum dolor sit amet, consectetur adipisicing elit. Perspiciatis unde quo, repellendus odit nobis minus optio voluptatibus numquam animi distinctio.</p>

                        </columns>

                    </row>

                </columns>
            </row>
        </container>

    </center>
    </td>
    </tr>
</table>
<!-- <tracker> -->
</body>
</html>